Picture Ledge
BEFORE
I had a gallery wall here since the day we moved in. 5 years later, I was ready for a change. I wanted something a little more simplistic that I could change with the seasons. I thought a picture ledge would be perfect in this space.
After I started looking online, I soon realized this was definitely an easy project to hand over to my other half. And what do ya know, he put it together in less than an hour! First step: Measure your wall and determine the length of the ledge you are wanting.
Materials we used:
1’ x 6’ Pine Board - Back of the Shelf
1’ x 3’ Pine Board - Shelf itself
1’ x 2’ Pine Board - Front Ledge
1” wood screws, toggle bolts, trigger clamps, drill, stain/paint and a rag
Steps - Shown Above:
Glue Back Shelf and Shelf piece, clamp and screw together
Adhere front shelf with wood glue
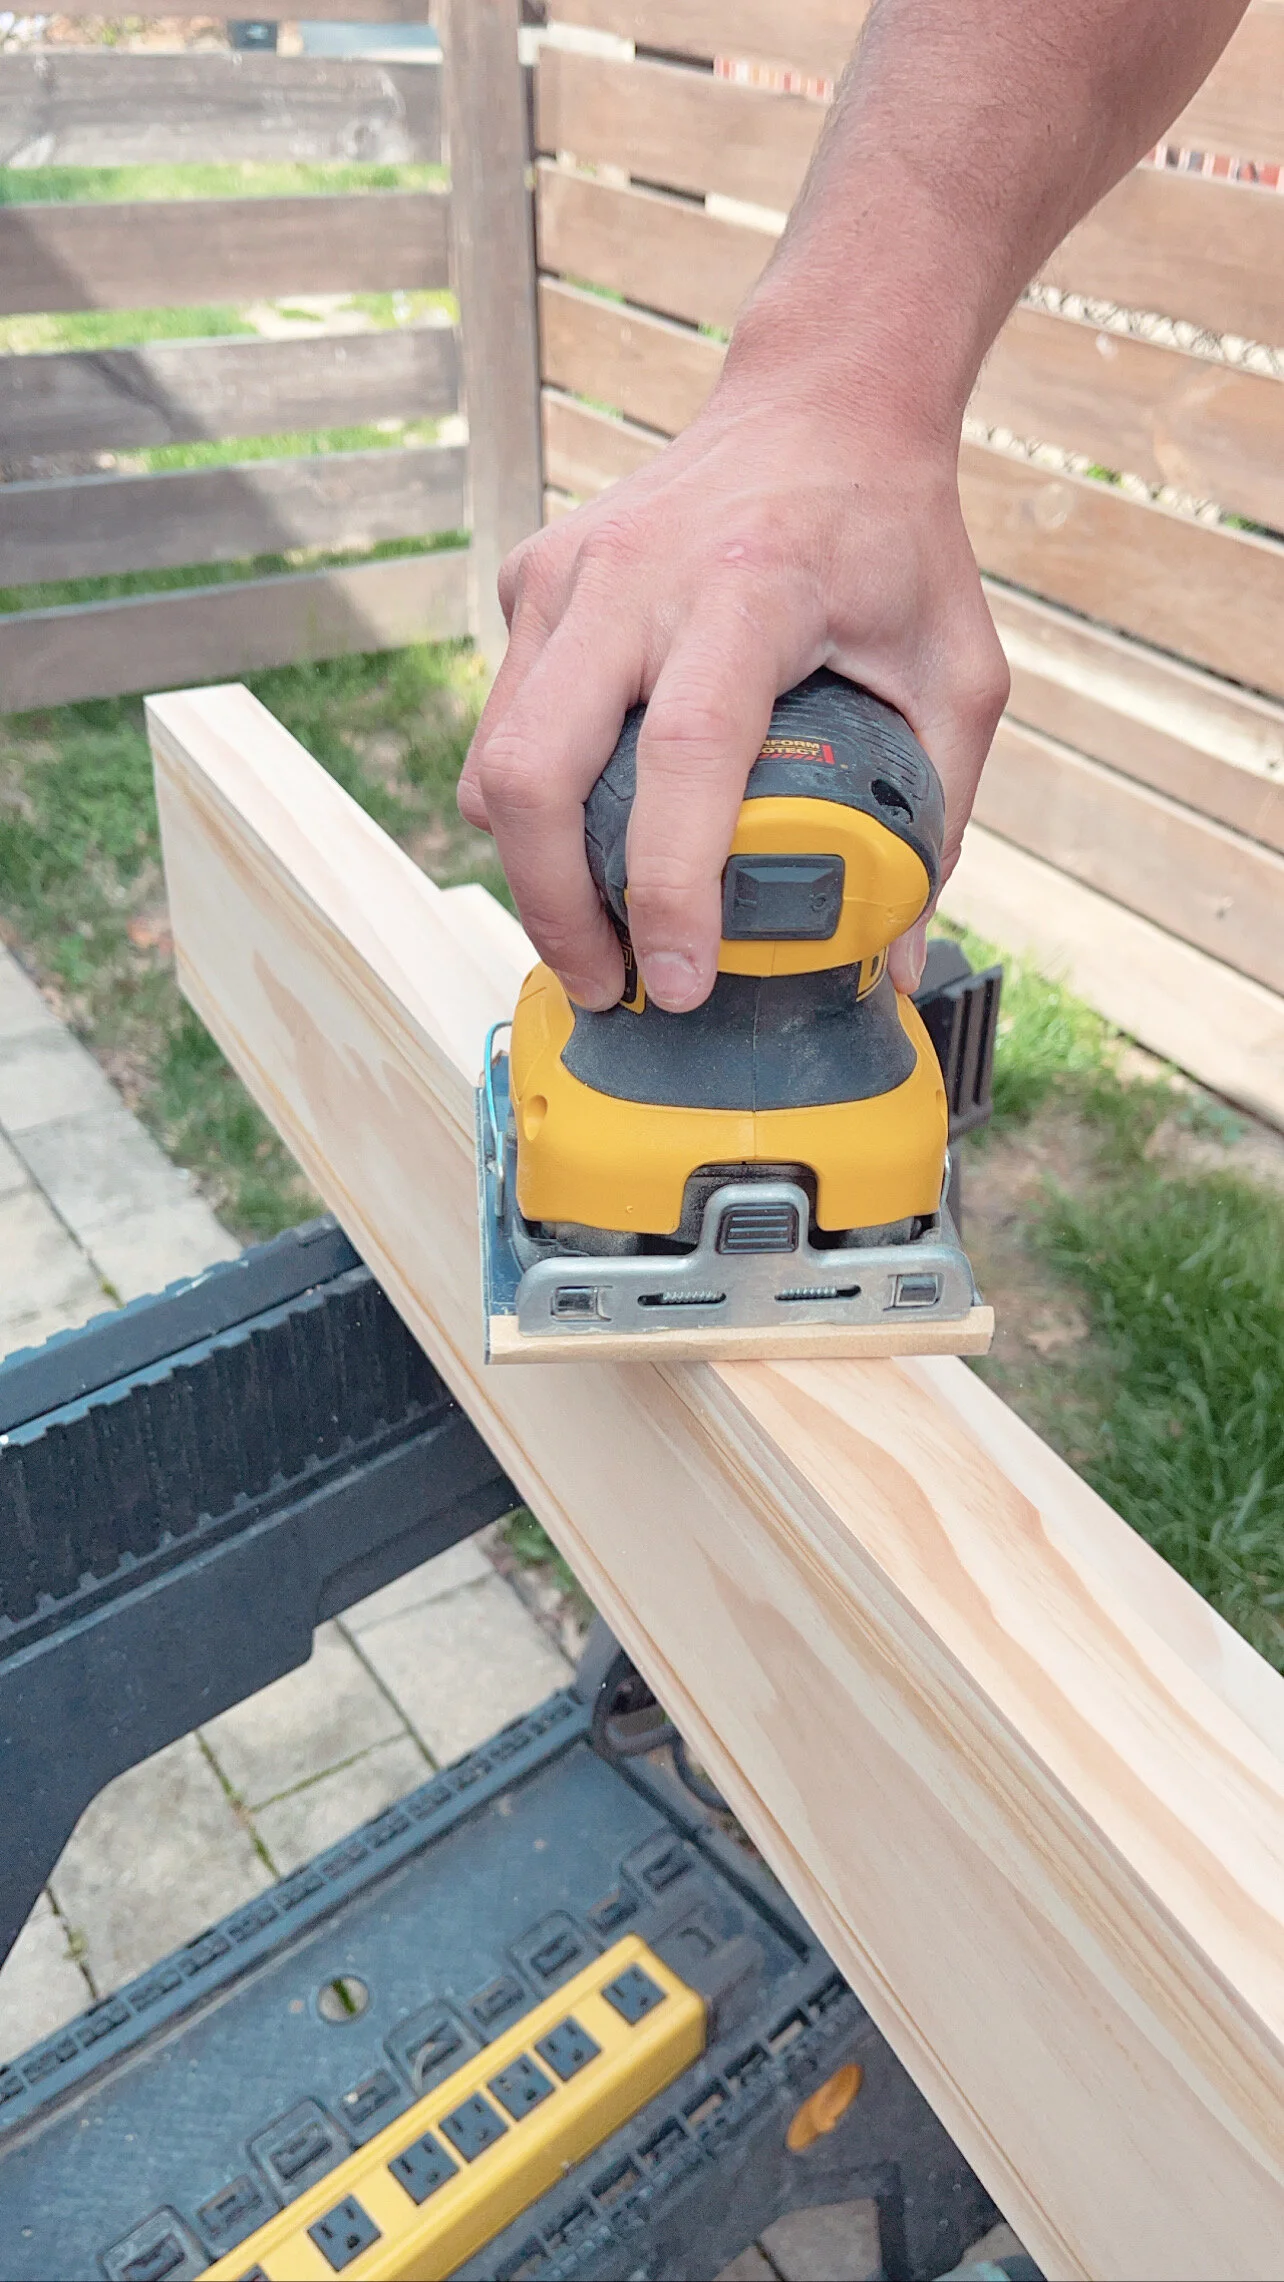
Sand excess Glue
Stain or Paint
STAIN
I love how stain is so versatile. You can lay it on heavy for a one dimensional color or apply lightly so all the wood tones bleed through.
Used on this shelf is: Mini Wax - Special Walnut.
How to adhere to the Wall
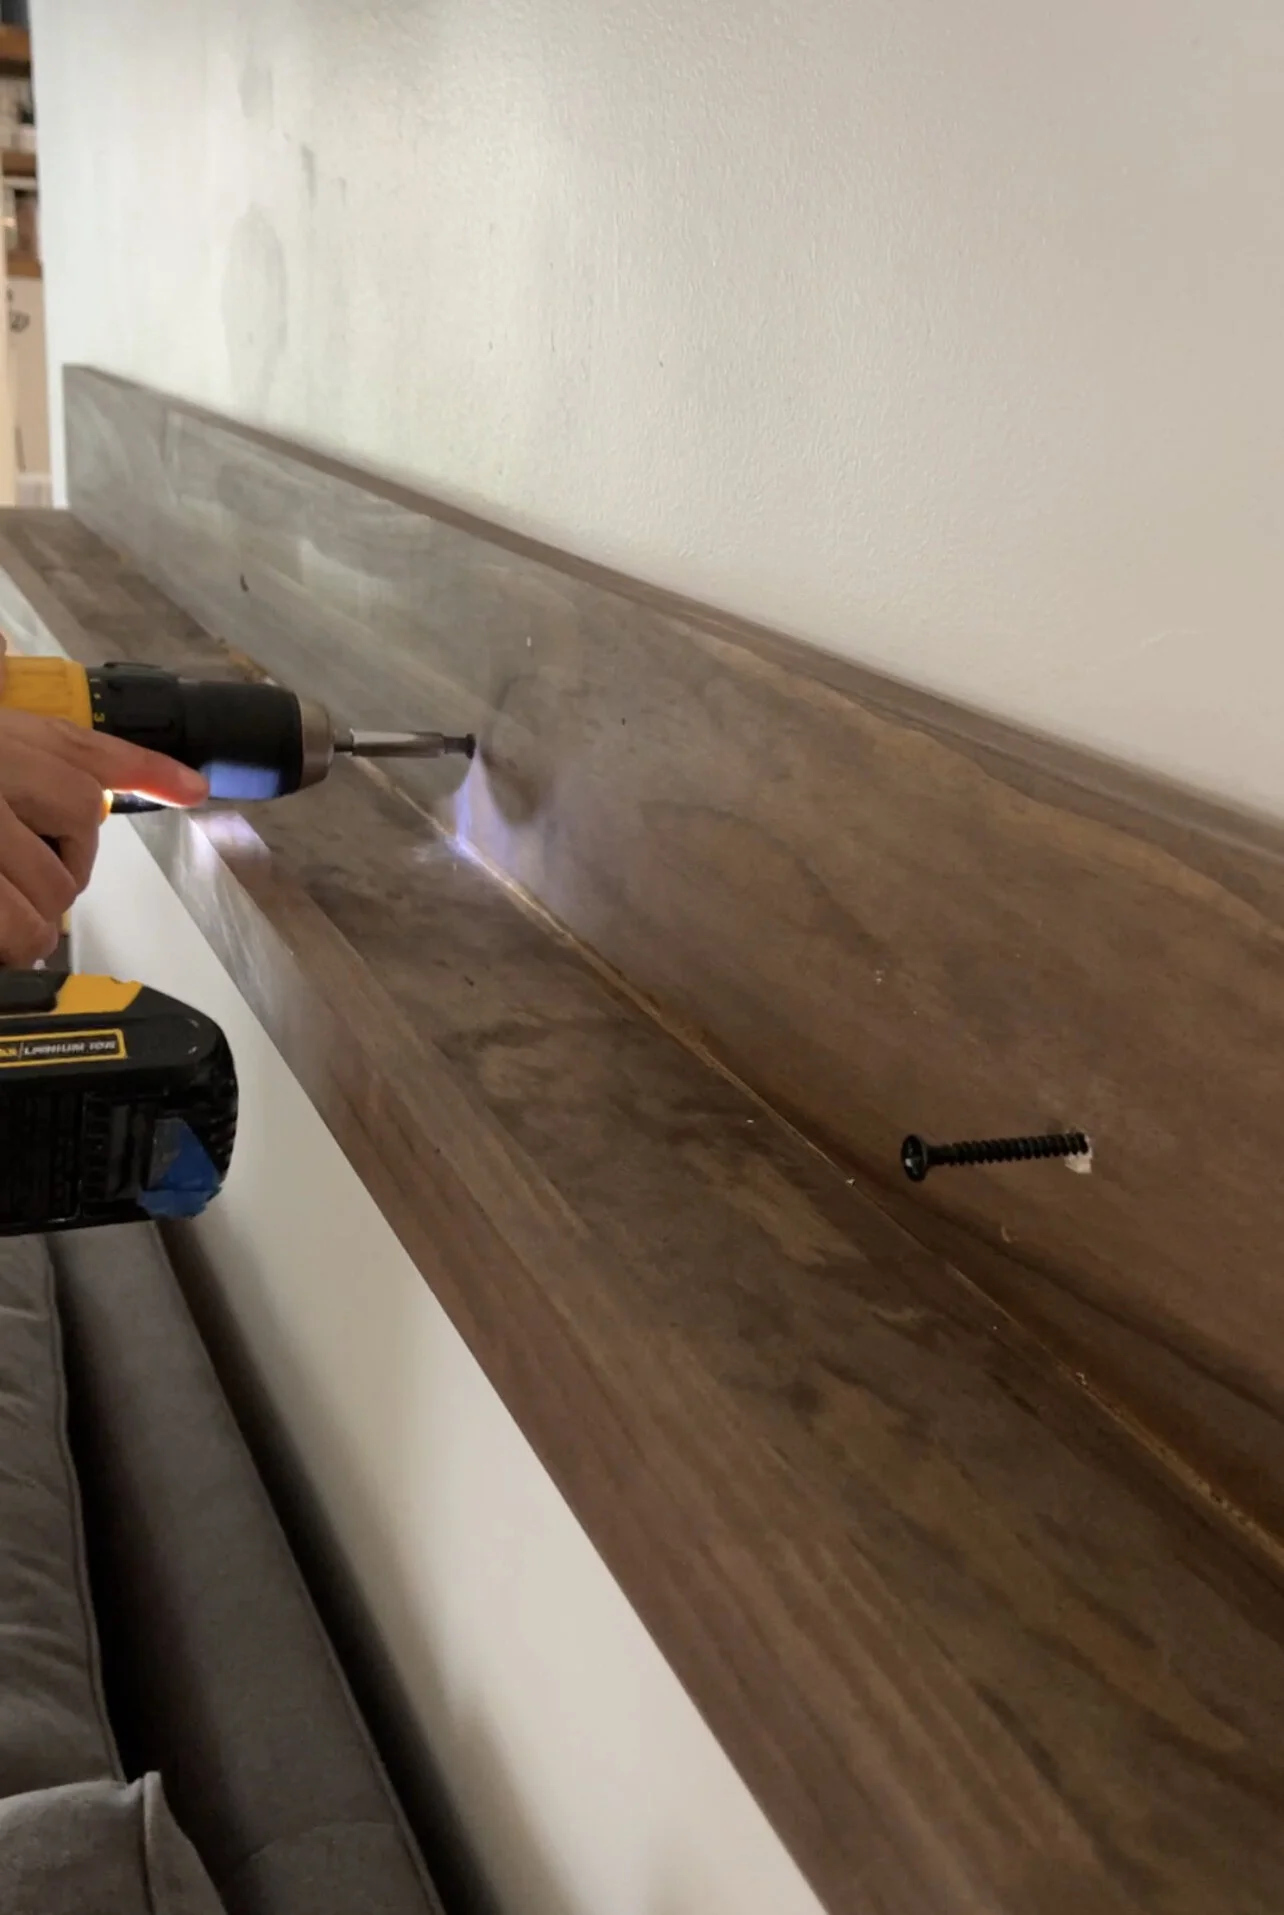
The most secure way to hang the ledge is utilizing the studs in your wall. We used 3 inch screws and screwed the back of the photo ledge into the studs. Studs are 16 inches on center, so we ended up using 3 screws.
Don’t have studs in the area you want to put it? No problem… you just need a few drywall anchors. I would recommend using 4 for good measure.
AFTER
What do you think? This is such a fun way to display your family photos or favorite prints. Whatever you choose, this ledge is sure to bring a touch of minimalist sophistication to any space.
Click here to see the Video Tutorial on TikTok!


